Looking for the perfect invitation maker for your special celebration? PartyLabz helps you create and send stunning email invitations that match your event's unique style! Whether you're designing wedding invitations, online birthday invitations, or baby shower invitations, our platform makes party planning a breeze.
How PartyLabz Makes Your Events Special
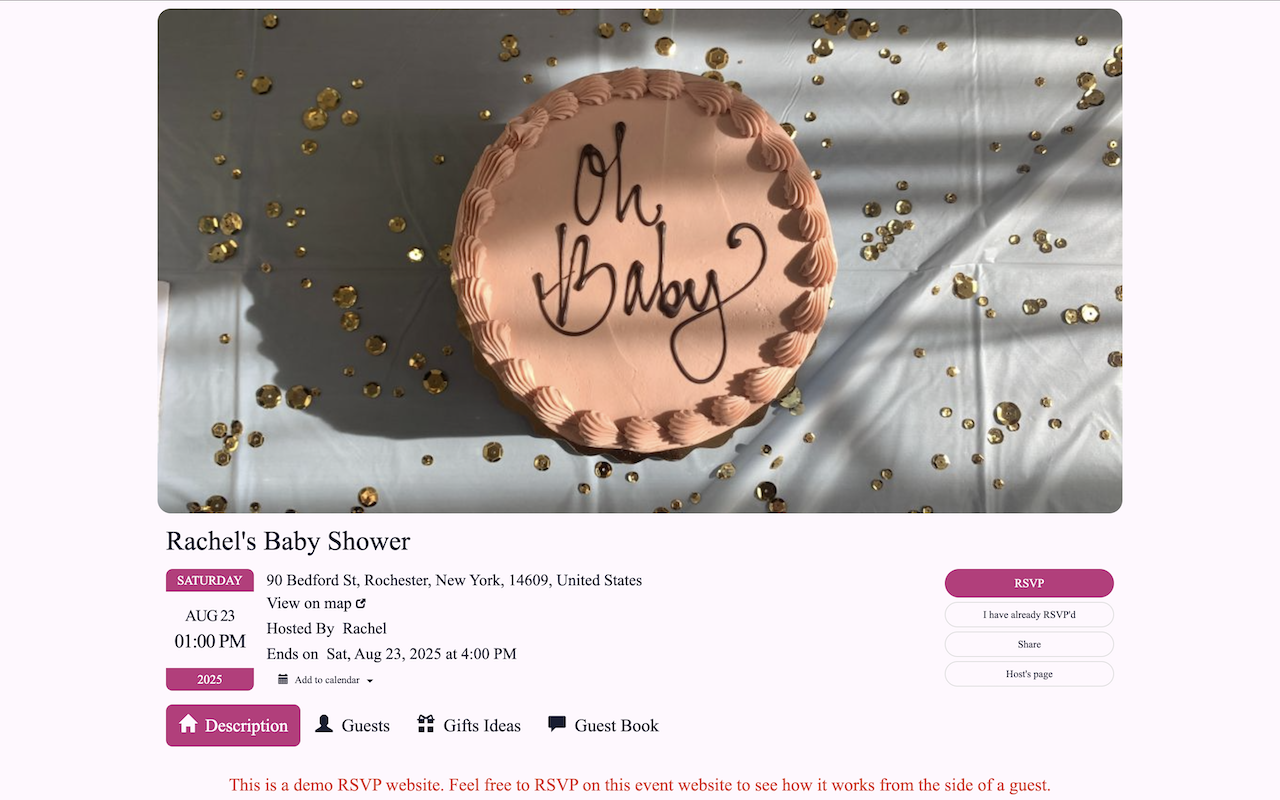
When you create an event with PartyLabz, your e vites automatically inherit the design, colors, and feel of your event website. No extra design work needed - your electronic invitations will look professional and cohesive from the first invite to the final guest response!
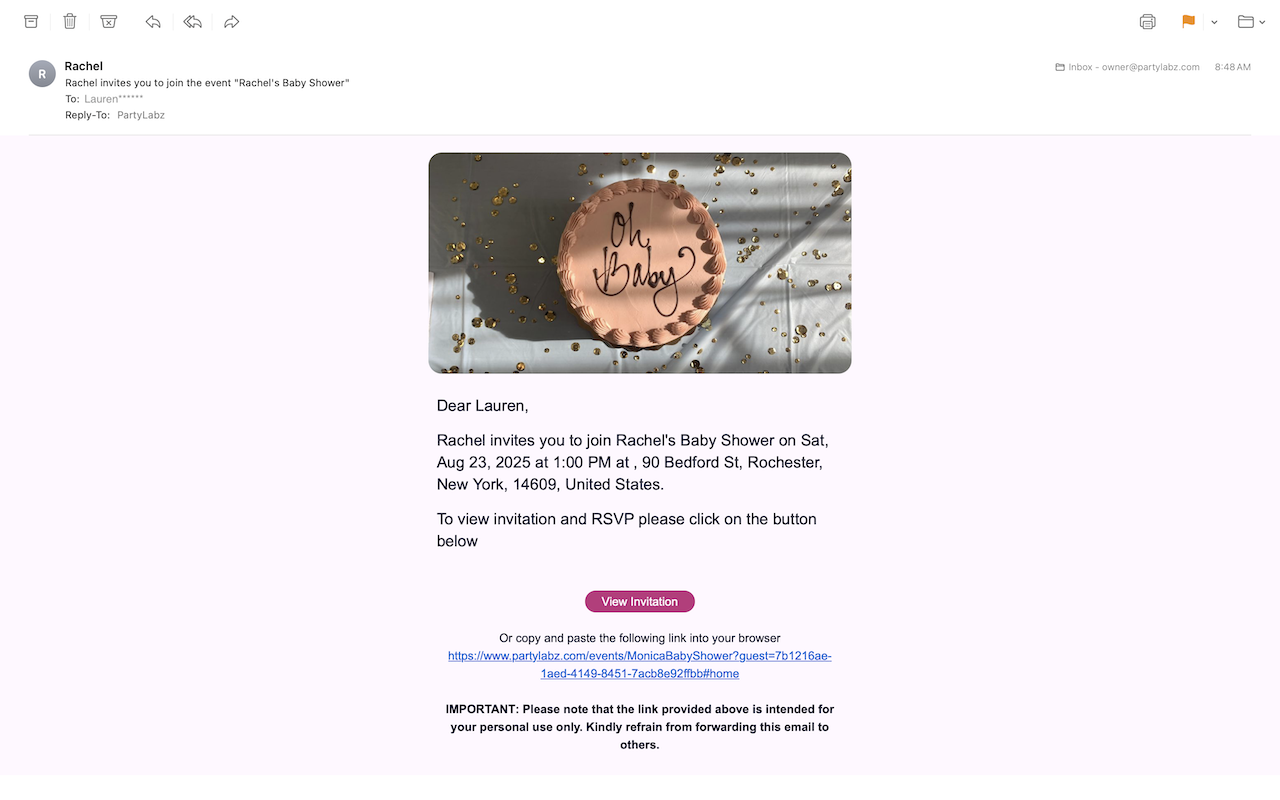
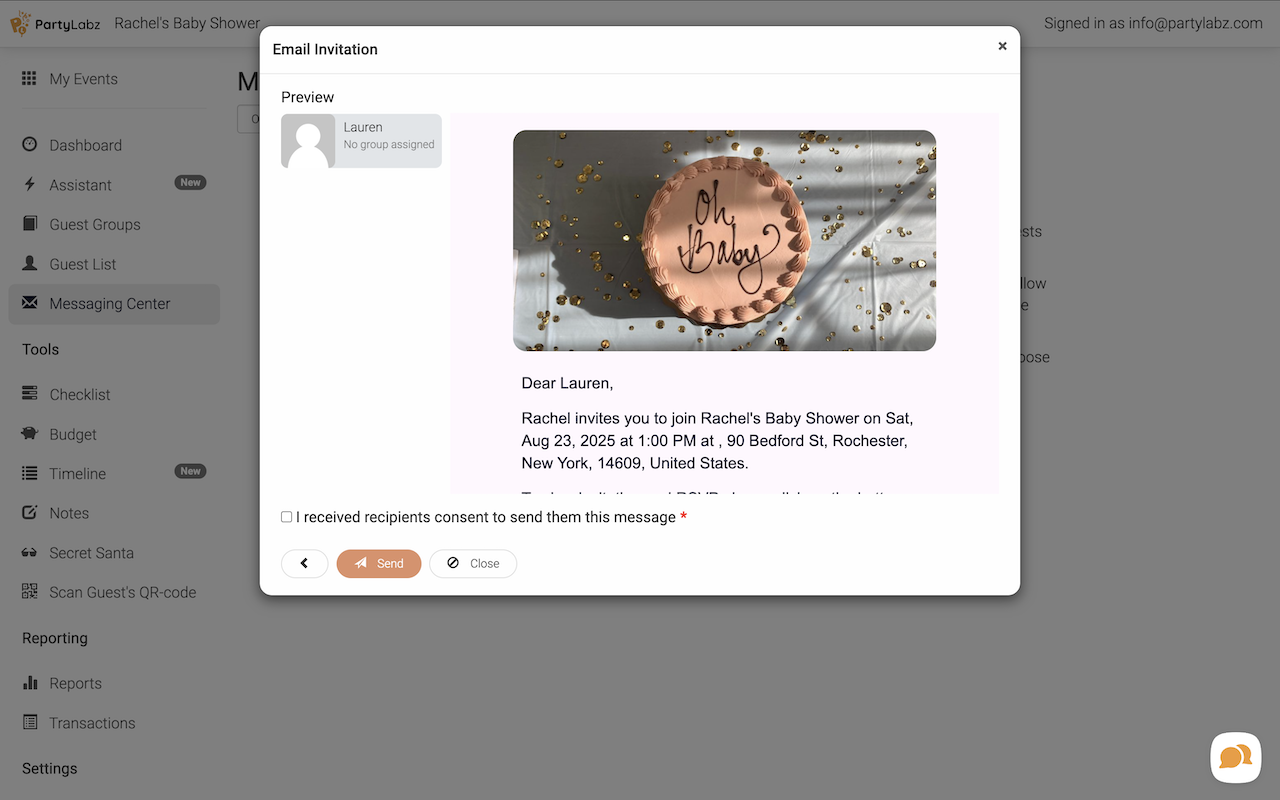
And this is how the online invitations will appear in the recipient's email:
Creating Your Event
Start your journey by heading to the "Create Event" page, or click the "Create Event" button from the "My Events" page. Begin by entering essential information like your event name, host name, and host's email address. The intuitive wizard will guide you through setting up your event details including date/time and location. Make your event page engaging by selecting or uploading an event image or video, choosing background music, and adding animations. Once the wizard is complete, visit the "Appearance Settings" to perfect your event website's look with custom fonts and colors that match your style.
Managing Your Guest List
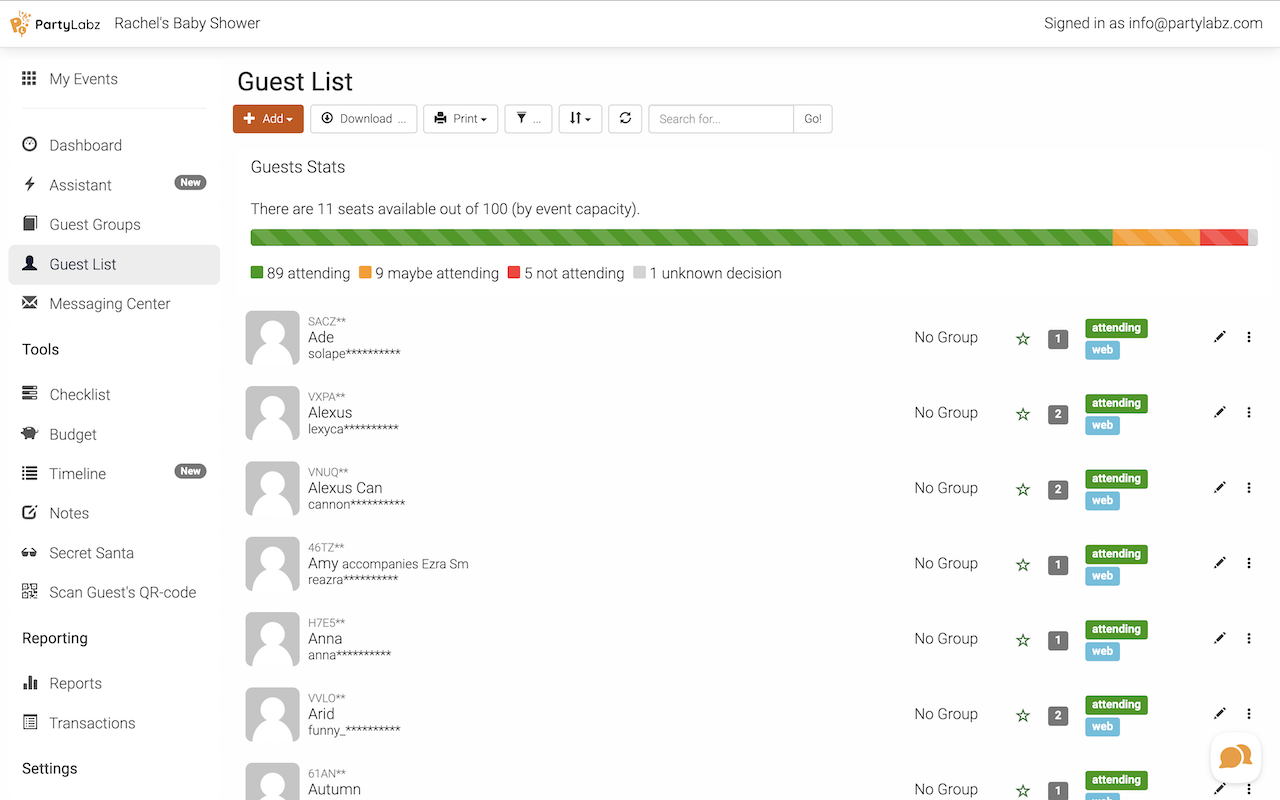
The "Guest List" page in your dashboard is your central hub for managing invitees. You have several convenient options for adding guests:
- Enter guest information manually one by one
- Upload guests in bulk using a CSV file template
- Import contacts directly from Google
- Import guests from your previous events
These flexible options make it easy to build your guest list, whether you're planning an intimate gathering or a large celebration.
Sending Your Party Invitations
Head to the "Messaging Center" in your dashboard to start sending your email invites. The process is straightforward:
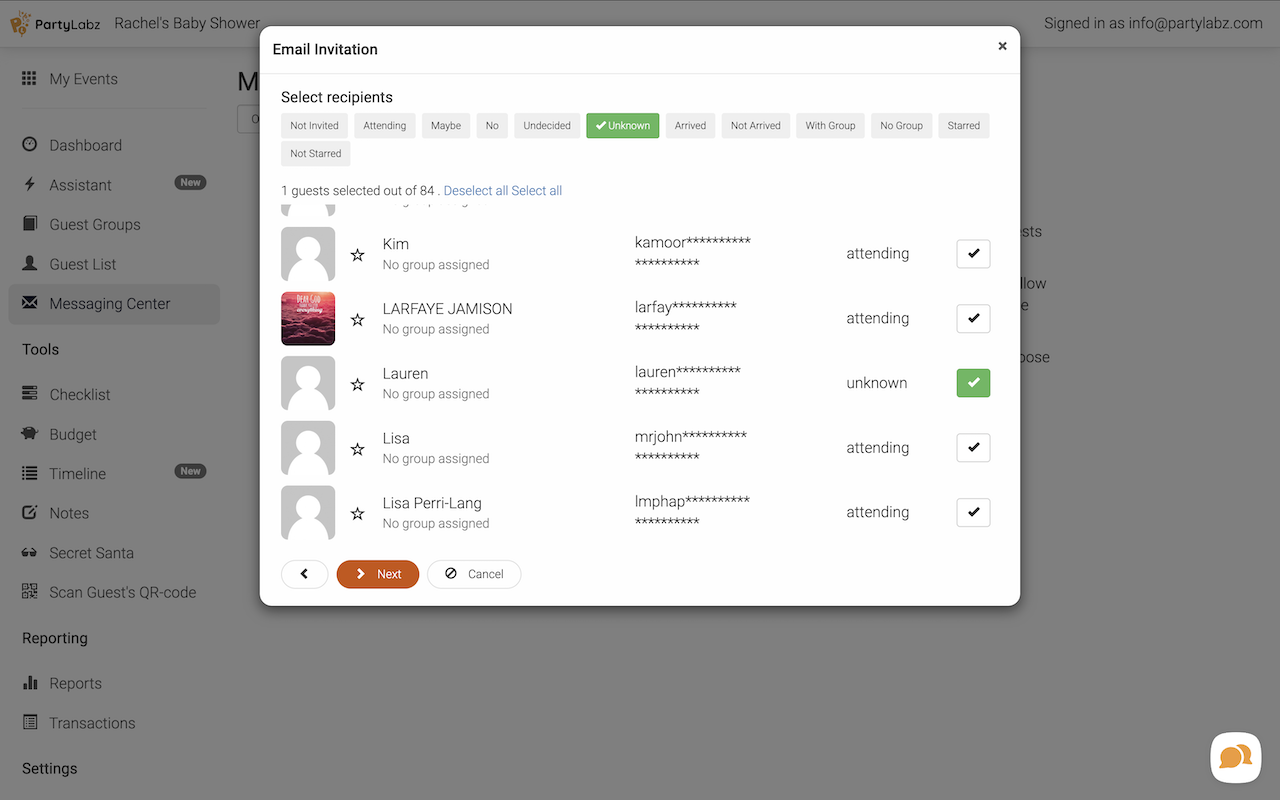
- Click the "Invite" button and select "via email"
- Choose your recipients based on their RSVP status or other criteria
- Review your invitation
- Click "Send" to deliver your electronic invitations

Keep track of your invitations by clicking the "eye" icon next to any sent message. Here you'll find detailed delivery status for each recipient and overall delivery statistics. Need this information for your records? Simply download all delivery data into a CSV file with one click.
Email Headers and Branding
When your guests receive the invitation:
- The "From" header shows the event host's name with noreply@partylabz.com as the email address. You can modify the host name on the "Event Details" page
- The "Reply To" header contains the event host's email address. Consider using a dedicated email alias instead of personal or work email addresses, especially for organizational events. This approach helps maintain privacy and provides better email management. Even for personal events, an email alias can protect your primary email address from being widely distributed
- The "Powered by PartyLabz" footer can be removed by upgrading to either the "BUSINESS" plan or subscribing to "BUSINESS+"
Sending Invitations in Batches
PartyLabz smartly tracks who has already received invitations, making it easy to manage large guest lists in stages. Here's how it works:
- Add your first group of guests and send their invitations
- Add more guests whenever you're ready
- When sending the next batch, select "Not Invited" in the recipient selector
- The system will only send invitations to guests who haven't received one yet
Important: The system marks guests as "invited" only after their invitation is successfully sent, not when it's queued. Before sending new batches, make sure your previous invitations have been delivered by checking the delivery status in the Messaging Center.
Track RSVPs with Ease
PartyLabz makes RSVP tracking simple and efficient! Monitor responses in real-time from your event dashboard or from the "Guest List" page. See who's coming, who can't make it, and who still needs to respond - all in one place. Your guest list automatically updates as responses come in, helping you stay organized and plan accordingly.
Automated RSVP Reminders
Never worry about chasing responses again! PartyLabz automatically manages reminders for guests who haven't RSVPed yet. Here's how it works:
- Once an invitation is successfully sent to a guest, they're added to the reminder system
- By default, the system sends reminders every 7 days to guests who haven't responded
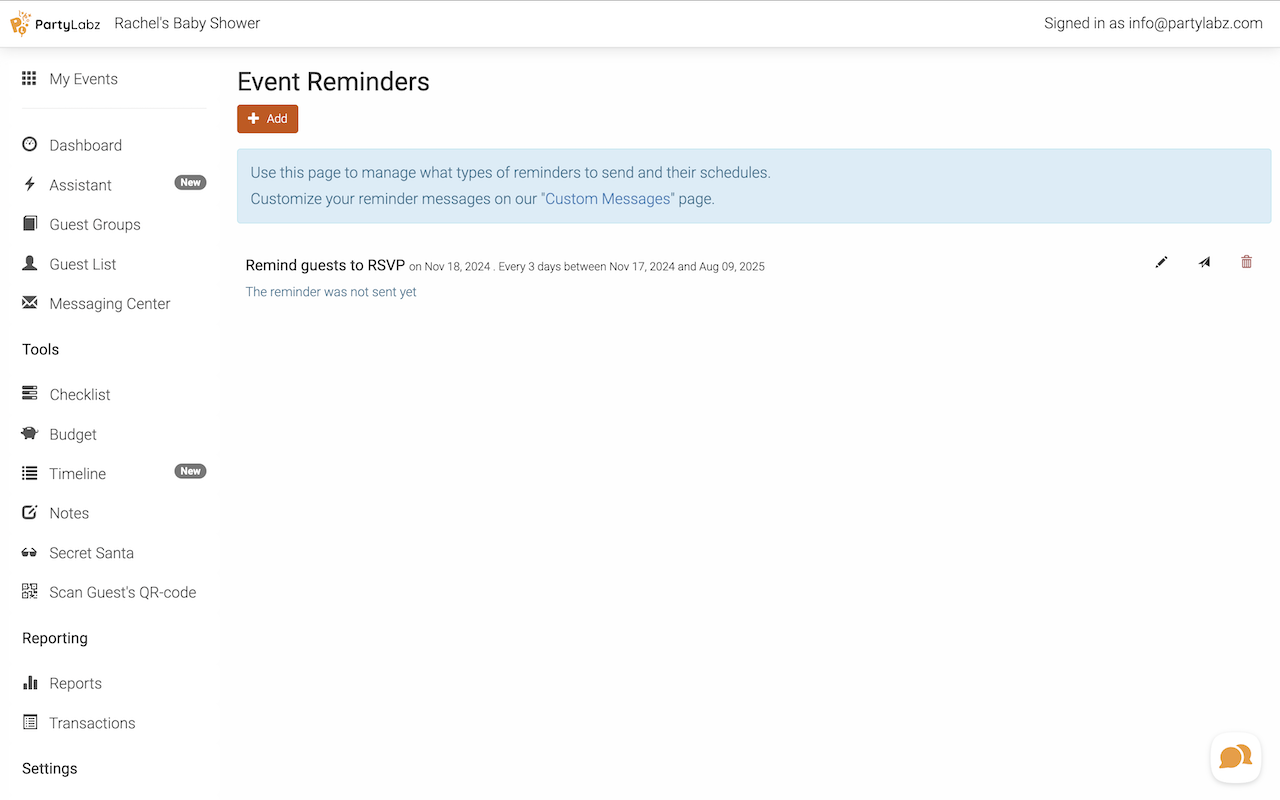
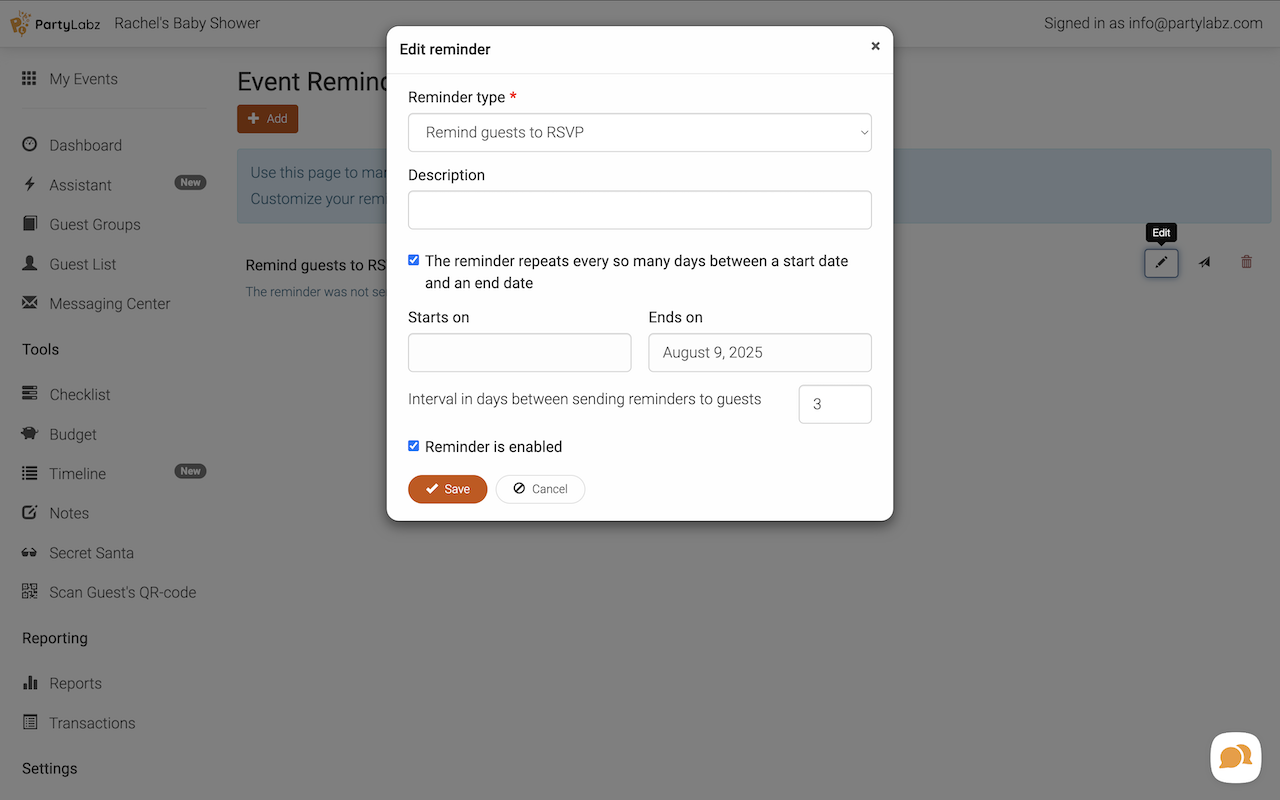
- Access the "Reminders" menu item to customize your reminder schedule
- Set any interval in days (from daily reminders to longer periods)
- Disable reminders completely if you prefer
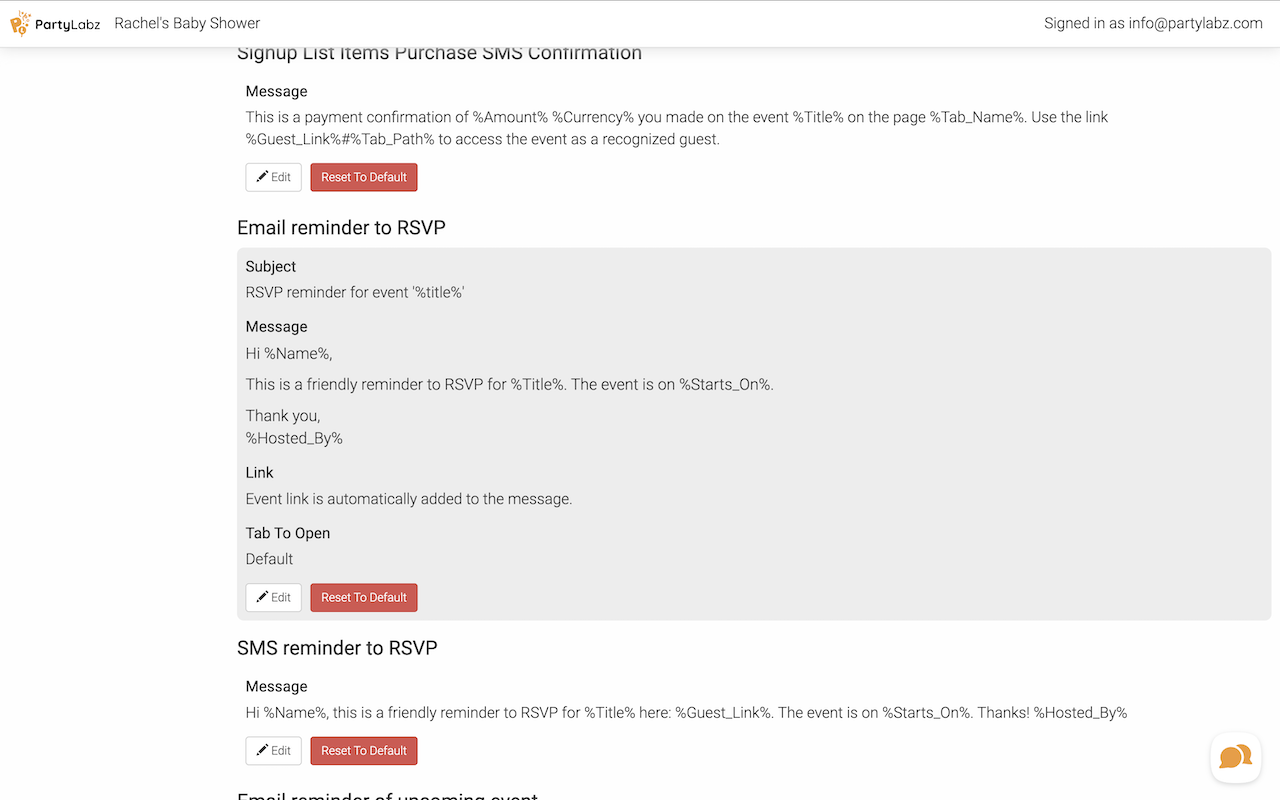
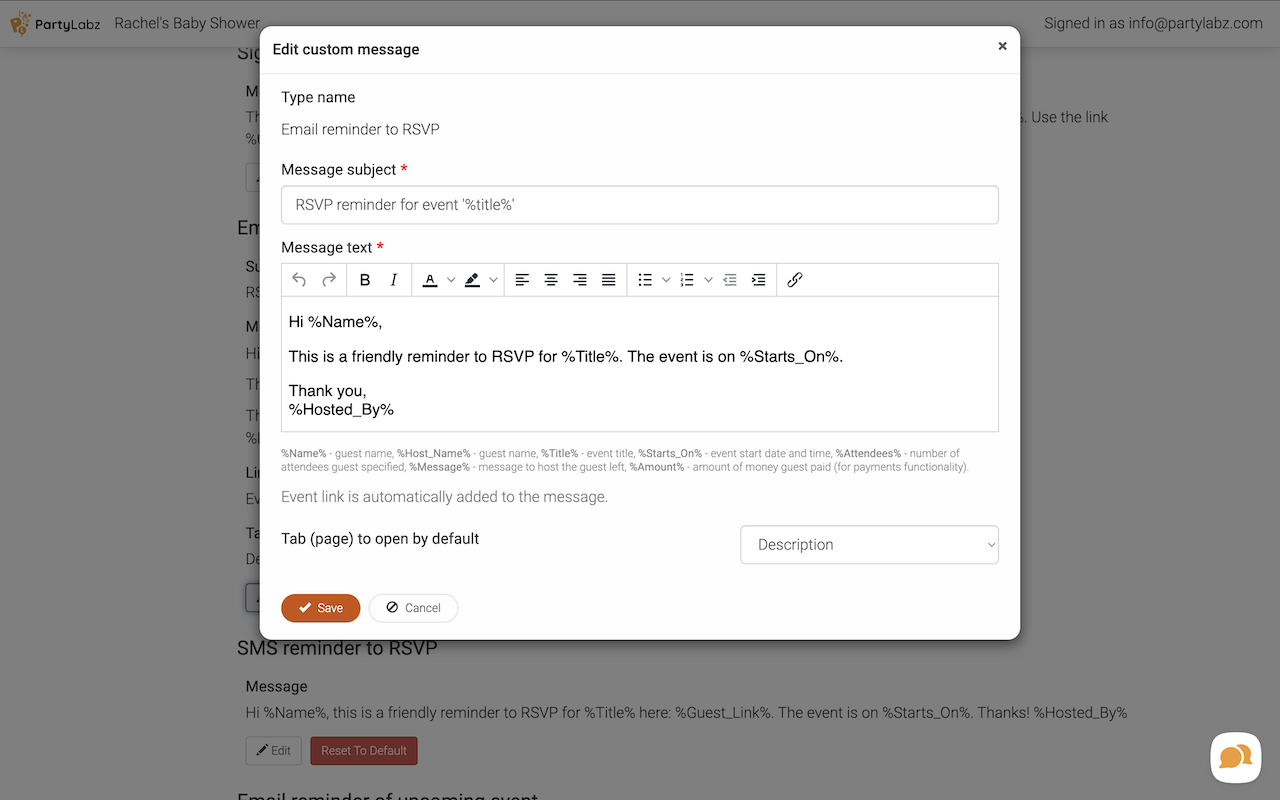
You can also customize the content of reminder messages. Go to the "Custom Messages" page, locate the "RSVP Reminder" section, and click "Edit" to modify the subject line and message body. The system will automatically add the personal RSVP link at the end of your custom reminder message.
Important: Each reminder sent counts toward your event's email limit. For example, if you set daily reminders, your available email quota may be used up quickly. Choose your reminder frequency wisely to manage your email allocation effectively.
Customizing Your Invitations (PRO Plan and Above)
While FREE and LIGHT plans include standard invitation templates that cannot be modified, PRO and above plan users can write their own invitation messages from scratch. This means complete control over the invitation text, tone, and style while still maintaining the beautiful design of your event website.
Important: Please avoid adding links in your custom invitation messages. Messages containing links require manual verification by PartyLabz support team to prevent potential spam or scam attempts. This helps maintain the security and reliability of our platform.
Use these variables in your invitations and messages to add a personal touch:
Guest Information:
- %Name%: Guest name
- %Guest_Email%: Guest email
- %Guest_Phone%: Guest phone
- %Guest_Code%: Guest code (used in QR-code)
- %Guest_Group%: Guest group
- %Guest_Address%: Guest address
- %Guest_Company%: Guest company
- %Guest_Job_Title%: Guest job title
- %Guest_Link%: Replaced by a personalized RSVP link with a guest's unique ID.
- %QR_Code%: Replaced by QR-code URL. Use this variable as an image source
Event Details:
- %Title%: Replaced by your event title.
- %Starts_On%: Replaced by your event date and time.
- %Starts_On_Date%: Replaced by your event date.
- %Starts_On_Time%: Replaced by your event time.
- %Ends_On%: Replaced by event end date and time.
- %Ends_On_Date%: Replaced by event end date.
- %Ends_On_Time%: Replaced by event end time.
- %Host_Name%: Replaced by the name of the event host.
- %Address%: Replaced by the full address of your event.
- %Place_Name%: Replaced by the venue name.
- %Link_To_Map%: Replaced by the link to the map.
- %Place_Website%: Replaced by the venue website.
- %RSVP_By%: Replaced by the date by which guests must RSVP.
- %Event_Public_URL%: Replaced by your event website's public URL.
Plans and Features
PartyLabz offers various plans to suit different event sizes and needs, from intimate gatherings to large celebrations. Visit our pricing page to explore all available plans and find the perfect fit for your event. Remember, yearly subscriptions offer the best value with significant discounts!
Important Tips:
- Add noreply@partylabz.com to contacts to prevent invites from going to spam
- Request corporate guests to whitelist our email address
- Test your custom message by sending a sample invite to yourself first
Key Takeaways:
- Create stunning electronic invitations that perfectly match your event website's design
- Easily track delivery status and maintain detailed records of your sent invitations
- Personalize your messages with smart variables for a unique guest experience
- Consider using email aliases instead of personal addresses for better privacy and management
- Avoid adding links to custom messages to prevent delays in invitation delivery
- Save time with flexible guest list management options
- Keep guests engaged with automated reminders
- Choose yearly subscriptions for the best value on our premium features
Start creating your perfect event today with PartyLabz - where beautiful invitations meet effortless party planning!
Do you find content on this page helpful?