When the event is created you need to add a new tab. You can do it by either clicking on the plus icon in the tabs row either via 'Menu - Add a tab' menu item.
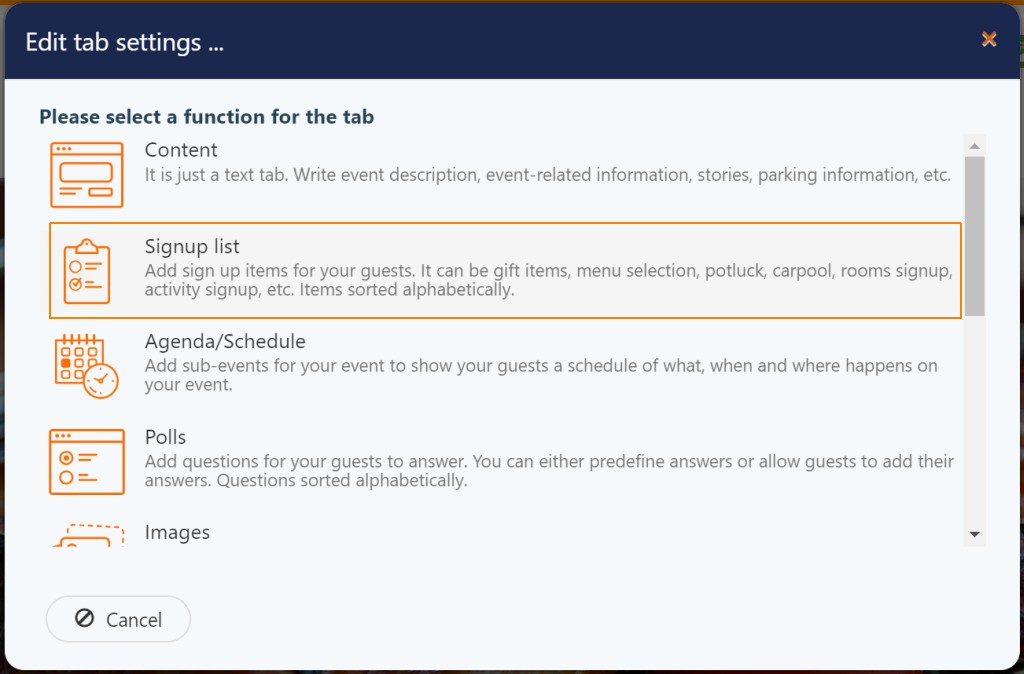
In the popup dialog select 'Signup list' function, then choose an icon for the new tab, enter its name and click 'Save'.
Now you have the tab where you can start adding meal courses you would like your guests to bring to the event. To do so, click on the 'Add' button in the tab's toolbar and in the popup dialog enter meal course name, for example, 'Appetizers'. In this case, we do not need to specify any quantities so we leave it 0.
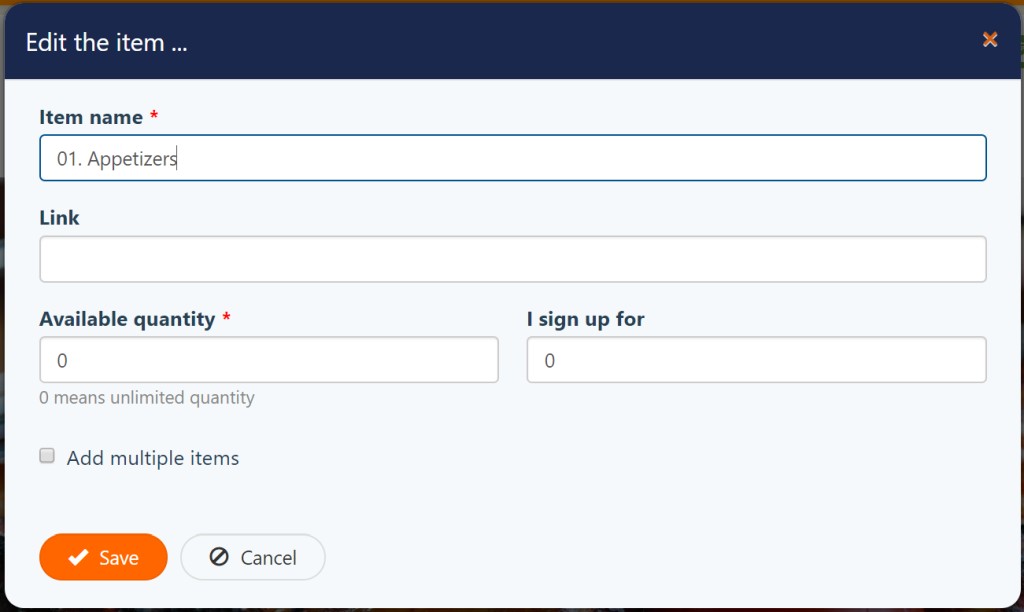
Here is a nuance. The items in the signup list are sorted alphabetically, so if you want a specific order of your items it is recommended to add numbers. For example, '1. Appetizers'. Repeat the operation for as many meal courses as you want to add.
Now, everything is ready and you can invite guests. Note that only recognized guests (guests who RSVP'd and access the event website using their personal link) can sign up for the meal courses.
Here is how it works for a guest. Let us say you have invited your colleague Walter. First thing, Walter goes to the RSVP page and registers to your event by entering his name, a number of attendees (3 - in case he decided to come with his wife and son) and so on. After RSVP Walter gets redirected back to the event website as a recognized guest.
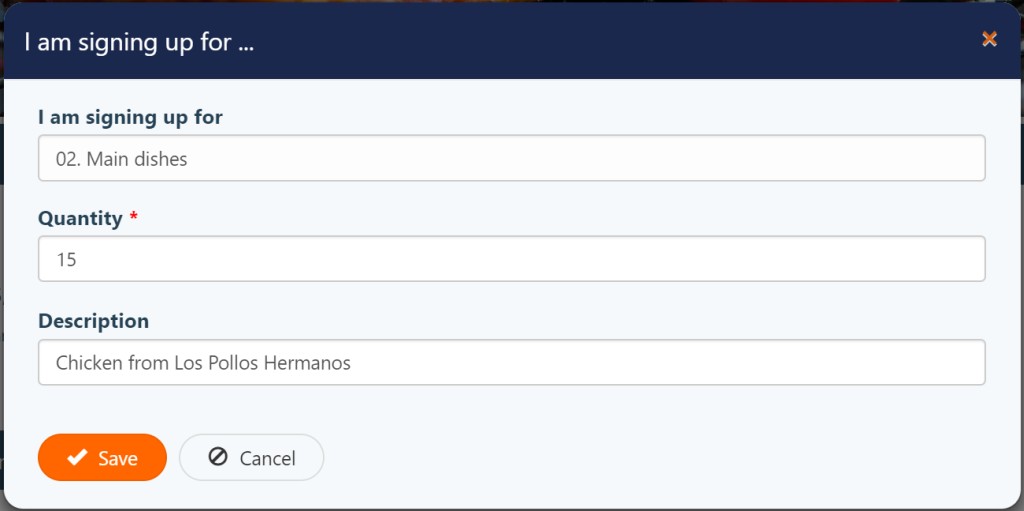
Now he can go to the 'Potluck' tab and click on the 'Signup' button for that meal course he wants to bring and in the popup dialog in the ‘Description’ field he enters what he brings and in the ‘Quantity’ field number of people his food is enough for. For example, Walter wants to bring chicken from Los Pollos Hermanos for 15 people.
After all the guests signed up you can see the results on the tab in 3 ways:
- Clicking on the ‘eye’ icons of each meal course and see all signed up guests with their descriptions

- View report with data grouped by meal courses by clicking on the ‘Print - Print (group by items)’ button in the toolbar

- View report with data grouped by guests by clicking on the ‘Print - Print (group by guests)’ button in the toolbar
Below is short video tutorial how it works:
Advertisement
Do you find content on this page helpful?